Written 6 March, 2011How to Make a Flat Prim Even Flatter [Level II]
Or, How to Make a Flag
Here's a trick to make the thin edge of a flattened prim even thinner. It takes only a few seconds, and it's well worth the effort.
Flattening the prim works best for flexible objects like flags and clothing, but is handy for paper and the thin edges of three-prim plants.
Let's make a flag.
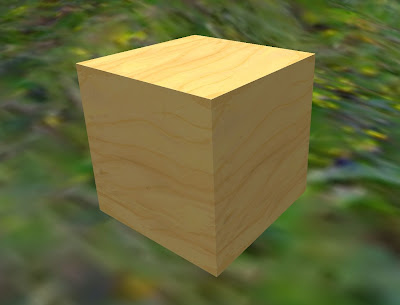
First, we rez a prim. Distinguished looking, isn't it?
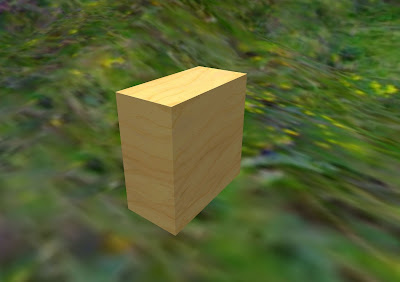
Now, in the Edit menu, select the Object Tab, and, in the Path Cut fields type 0.375 and 0.875. You'll see this halves the thickness of the prim along the Y dimension.
Here's the prim from the same camera angle.
Here it is with an uncut prim beside it:
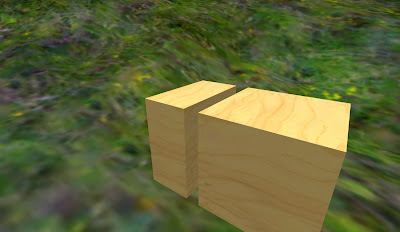
Now type .01 in the Y Size field of your prim. This sets the Y dimension to the smallest allowable, 0.01 meters.
Here are the two prims, side-by-side. You can see the prim we cut is much thinner.

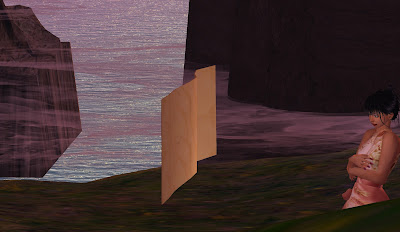
Here I've rotated the prim to 0,90,0 and checked the Flexible Path box under the Features tab. I set Softness to 3.0, Gravity, Drag, Tension, Force X and Force Z to 0, Softness to 3.0, Wind to 1.0, and Force X to 1, and the prim is waving merrily in the wind.
Now I add a flag texture Sweetie gave me long ago, rotate the texture by 270 degrees on the front of the flag, and...
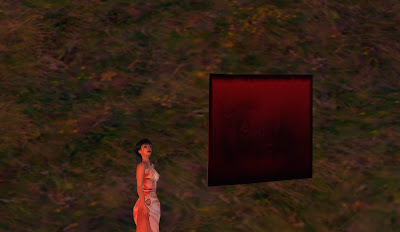
But uh-oh, what's this?

Cutting the prim created two surfaces where there was once one, so the texture is displayed twice at 1:1 density on each face. And not only that, it's upside-down! And yes, that's a sea monster swimming by. Ya gotta love Second Life.
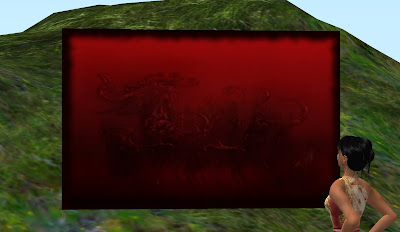
To fix, I turn on Select Texture and select both faces. Then I go to the Texture tab and select both faces. I set rotation to 90 and set Repeats Per Face to 1 (H) and 0.5 (V).
This puts the texture in the correct proportion, but things still don't look right.
Still in the Texture tab, set the vertical offset of the top face to 0.25 and the bottom face to 0.75.
Now the textures on the two faces are properly aligned, and our flag is complete.
Except for the pole, of course. But you know how to make a flagpole, don't you?


