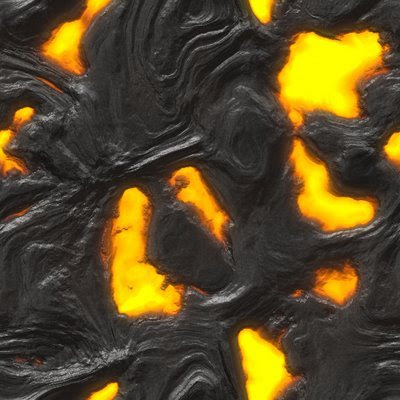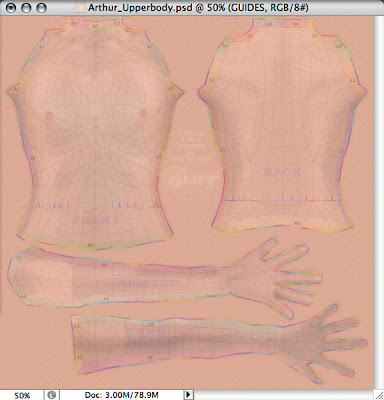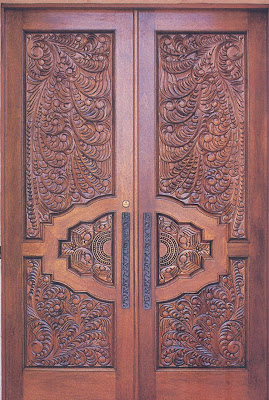

Photos: Two textures from the web, texture for upper template of avatar skin.
This article was writtenat the request of WhiteRaven Slade.
A Discussion of Textures [Levels II–III]
Without textures, all of Second Life would look like the default plywood. Not bad so far as plywood goes, but plywood can go only so far!
And so Second Life is rich with textures—cloth, wood, metal, terrain, stone, vegetation, building facades, signs, leopard spots, dragon scales and fairy wings—all of which were created by someone.
A few basic textures, like those you can find in the Library in your Inventory—were made by the Lindens. Most, however, were created by people like you and me.
Getting Textures
Second Life is full of free textures, some of which are quite good (and some of which are merely copies of the textures you already have in your Library). You can also find free and almost-free textures on www.XstreetSl.com and www.onrez.com.
There are any number of texture stores where you can buy sets of textures from everything from Egyptian tombs to argyle socks to Victorian doorways, but you can make your own textures as well.
For $10L, you can upload an image from your hard drive—a snapshot you took in Second Life, an image of a buddha you found on the web, or that nice tweed you scanned from last winter’s real life coat. You can paste the texture on a prim, and voila! You have a buddha, or a nice prim tweed skirt.
There’s more to it, of course. Images come in different sizes—and size is important. For that reason it’s handy to set the image size out of world. You can also make the image seamless out of world. Otherwise, you may wind up importing the same image three or four times before you’re satisfied with it. And those 10L charges can add up!
Hint: You can use Google to find free and inexpensive programs to set texture size and make your textures seamless. The free image manipulation program GIMP (www.gimp.org) has a filter which makes textures seamless. The great free image program ifRanview makes it easy to change the density of your images.
Hint: Many designer do preliminary uploading of textures on the beta grid, where importing is free. They import, tweak the original, and re-import until they’re satisfied. The images can’t be moved from beta to the main grid, but it reduces costs when you’re working with multiple textures, since you know the images you’ll be importing will be right the first time.
Texture Size
Images in Second Life come into world with dimensions in powers of two. The minimum size seems to be 32 and the maximum 1024—so the smallest possible texture size is 32 x 32, and the largest is 1024 x 1024. (I hear rumors of 2048 x 2048, but I’ve never seen one).
It’s important to understand that the textures one views take up memory space on video cards, and that the size of an image grows exponentially with a linear increase in size. A 1024x1024 texture takes up as much memory as four 512x512s, and as much memory as 16 256x256 or 64 128x128 or 256 64x64 or 1024 32x32 textures. Sims with small textures, and not too many of them, tend to load quickly. Areas with lots of large textures can take a long time to load. I’m sure you’ve been in shops where the signs were still gray after fifteen minutes!
To be a good citizen—and to improve your OWN Second Life experience—don’t bring textures in world any larger than you have to to keep them sharp. 1024x1024 and 1024x512 textures are necessarily only on the largest builds—huge prims. 256x256 and 512x256 sizes are sufficient for most things, and small objects will work at 32x64 or even 32x32. Particle scripts work best with small textures, which rez quickly. You’re probably familiar with particle scripts with big textures; they’re the ones responsible for that annoying gray fog when someone activates their poofer.
Hint: Whenever possible, reuse the same textures within a setting. Use one single granite texture, for instance, in place of four or six different rock textures.
Texturing a Prim
You can apply a texture to a prim by simply dragging it to the prim from inventory (or from the texture’s image, when it is open) to one side of a prim. Presto, there it is!
Hint: Hold Shift while dragging a texture to a prim, and it will be pasted on all sides of the object.
You can also apply textures by dragging a texture from inventory to the texture window on the Texture tab in edit. Or you can click the texture window and choose a texture from the mini inventory window that will pop up.
For textures to work correctly, you must have full permissions. Otherwise you must drag them to one side of a prim, and the prim will yell in protest. Ouch!
You can put different textures on different sides of a prim (torii have only one side, so of you can get two textures on one, let me know about it!). You can even put a texture on the hollowed-out inside of a prim.
Adjusting Textures
Once applied, you can stretch the x and y dimensions of a texture so only part of it is on a prim face or so it tiles multiple times across the prim face. You can rotate the texture, flip it along the x or y axes, and offset it vertically and horizontally. You can also make it partially or almost totally transparent. And you can do all this on the entire prim, or only on the faces you have selected.
Hint: To make an object completely transparent, you must use a pure alpha texture. You’ll find one in your library. After you’re made it alpha, you’ll then need to use Ctrl-Alt-T (Cmd-Alt-T on the Mac) to see it!
Hint: Here’s how to work on one side of a prim: click the Select Textures box on the General tab in Edit. Then shift click on the prim faces you want to work on. (You can click faces on other prims at the same time. Most handy!)
Hint: Tiling a texture (increasing the texture density to be more than one repeat), will increase its sharpness. Tiling works nicely for stones, fabrics, and wood.
Hint: If you increase texture density too much, your eye will dislike what it sees when there is a grain, as in wood. If you see the repeats and they annoy you, just back down the texture density a bit.
Organizing Your Textures
If you don’t organize the textures in your inventory, you’ll soon find yourself overwhelmed. You can make subfolders for wood, metal, and other categories, and sub-folders within those (Metal > Gold > Patterned).
Textures can soon clutter your inventory, however, and for this reason, most people use inventor organizers. Organizers can be HUD-based (meaning they paste to the inside of your screen) or rezzable (meaning you pull them out on the land). And these are divided into single-frame and multiple-frame organizers.
Single frame organizers are handy for storing textures with limited permissions. Multiple frame organizers can accept only textures will full permissions, but are handy because you can have as many as sixteen categories of objects. (Chey’s Building organizer, for instance, has categories for, among other things, bricks, doors, windows, interior walls, exterior walls, floors, ceiling, and tiles.)
Organizers will not only get thousands of textures out of your inventory; they will help you find the textures you want by letting you view sixteen or so of them at a time. If you do much texturing, an organizer will be worth the price. I use the multi-texture organizer sold by K.R. Engineering. It has worked flawlessly for two years. And it’s copyable, meaning I can have organizers for any number of categories. And I do! I even store my photos in an organizer!
You’ll soon see that textures can transform that plain plywood cube into almost anything you can imagine.
-----
Notice: Because limited-perm textures are pretty much unusable in Second Life, texture stores sell their wares with full permissions. They are licensed for YOUR USE ONLY. Please support content creators; don’t give their textures to others.

No comments:
Post a Comment