

A Clean Palette:
How to Prepare Objects for PhotoShop [Level IV]
One of the most time-consuming chores in photo manipulation, we are finding, is cutting a figure from its background. there are a number of ways to do it, but they are all a lot of work and all less than perfect.
Here's a way to prep your in-world builds so they will be easy to work with in PhotoShop or GIMP (the free image manipulation program we are learning to use).
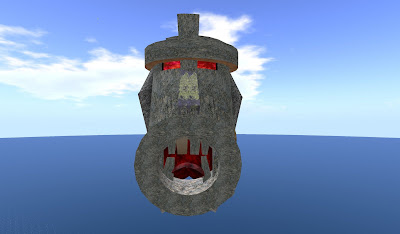
Meet Mr. Tiki. Of course, if you have ever ridden our train, you're familiar with him, as our train goes right down his gullet!
In his natural environment, Mr. Tiki is surrounded by sand, water, sky, clouds, palms, and the occasional passing seagull. It's a lot of work to remote all that.
But Chey saved a lot of time by some work in world.
First, she raised him to 300 meters.
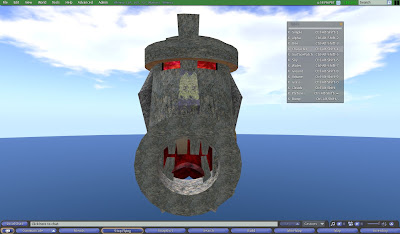
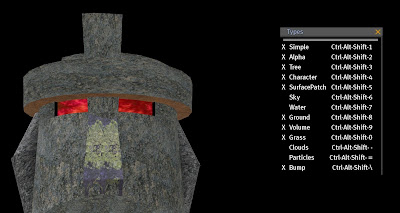
Then she used the Advanced (formerly the Client) menu and selected Rendering, and then Types. She clicked on the double bar, which "tore off" the Types menu.
Then she unchecked: Tree, SurfacePatch, Character (so she wouldn't wind up in the picture), Sky, Water, Ground, Grass, Clouds, and Particles. More than she needed, probably, but she figured rather safe than sorry.
Now Mr. Tiki was surrounded by an even black backgound. Chey positioned her camera and got a clean shot. Then she turned the selections back on and closed the Types menu and lowered Mr. Tiki back into position.
In GIMP, it was an easy matter to replace the black with alpha, making a clean image of Mr. Tiki.
So, to summarize, you can put a prim in the air, turn off air, water, trees, particles, avatars, and anything else you need, and get a nice clean photo!
No comments:
Post a Comment